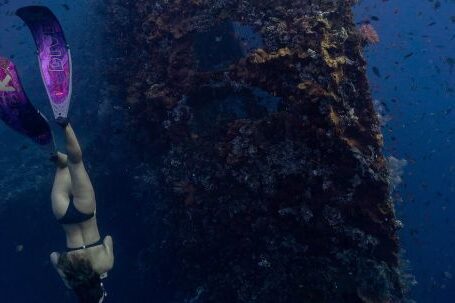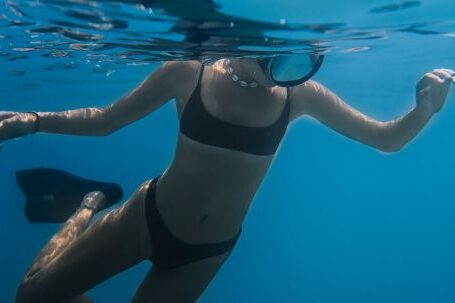
Capturing stunning underwater photographs can be a challenging and rewarding experience. The vibrant colors and unique marine life make for captivating subjects, but the underwater environment presents its own set of obstacles. One tool that can greatly enhance your underwater photography is the use of filters. In this article, we will explore the different types of filters available and how to effectively use them to improve your underwater images.
Understanding the Basics
Before diving into the world of filters, it is important to understand the basics of underwater photography. Water acts as a natural filter, absorbing and scattering light as you descend deeper. This results in a loss of color and contrast in your images. Filters help counteract this by selectively allowing certain wavelengths of light to pass through, thus restoring the natural colors and enhancing the overall quality of your photos.
Types of Filters
There are several types of filters available for underwater photography, each serving a specific purpose. Let’s take a closer look at some of the most commonly used filters:
1. Red Filters: These filters are designed to restore the red and warm tones that are lost in underwater images. They are especially useful in shallow water or when shooting with natural light.
2. Magenta Filters: Similar to red filters, magenta filters are effective in restoring color balance, particularly in greenish or blue water. They help bring out the vibrant hues of coral and other marine life.
3. Yellow Filters: Yellow filters are ideal for shooting in green water conditions. They help remove the green cast and enhance contrast, resulting in sharper and more vibrant images.
4. Polarizing Filters: Polarizing filters are versatile tools that can be used in both underwater and above-water photography. They reduce glare and reflections, allowing you to capture clear and detailed images.
Using Filters Effectively
Now that you are familiar with the different types of filters, let’s delve into some tips for using them effectively:
1. Choose the Right Filter: The type of filter you use will depend on the shooting conditions and the effect you want to achieve. Consider the water color, depth, and available light to determine the most suitable filter for your needs.
2. Experiment with White Balance: Adjusting the white balance settings on your camera can also help restore color in underwater images. Combine this technique with the appropriate filter for even better results.
3. Get Close to Your Subject: Water absorbs light, so getting as close as possible to your subject will minimize the loss of color and detail. This is especially important when shooting in deeper water or low-light conditions.
4. Avoid Using Flash: Flash can cause backscatter, which is the unwanted reflection of particles in the water. Instead, rely on natural light or use strobes to illuminate your subject.
5. Practice, Practice, Practice: Like any other skill, mastering the use of filters in underwater photography takes practice. Experiment with different filters, settings, and techniques to find what works best for you.
In Conclusion
Filters are powerful tools that can greatly enhance your underwater photography. From restoring lost colors to reducing glare, filters offer a multitude of benefits. By understanding the different types of filters available and following the tips outlined in this article, you will be well on your way to mastering the use of filters in underwater photography. So grab your camera, dive in, and capture the breathtaking beauty of the underwater world.