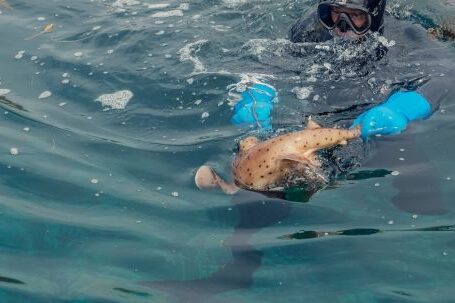

Underwater photography can be a thrilling and rewarding experience. Capturing the beauty and mystery of the underwater world is a unique challenge that requires skill, patience, and the right equipment. However, shooting underwater in murky conditions can present a whole new set of challenges. In this article, we will explore some tips and techniques to help you overcome these obstacles and capture stunning photos even in less than ideal conditions.
Understanding Murky Conditions
Before we dive into the tips, let’s first understand what we mean by murky conditions. Murky conditions refer to situations where the water is unclear or has low visibility. This could be due to factors such as sediment, algae, or other particles suspended in the water. These conditions can make it difficult to see, let alone capture clear and sharp images.
Tip 1: Use Artificial Lighting
One of the biggest challenges of shooting in murky conditions is the lack of natural light. As the water becomes clouded, the available light diminishes, resulting in dark and grainy images. To overcome this, it’s crucial to bring your own artificial lighting. Underwater strobes or continuous lights are essential tools for illuminating your subject and bringing out the colors and details.
Tip 2: Get Close and Steady
In murky conditions, the distance between your camera and the subject becomes critical. The farther away you are, the more the water will interfere with the clarity of the image. To maximize the chances of capturing a clear shot, get as close to your subject as possible. Additionally, maintaining a steady hand or using a tripod can help minimize motion blur caused by water movement.
Tip 3: Choose the Right Depth
When shooting in murky conditions, the depth at which you choose to dive can greatly affect the quality of your images. Generally, the shallower you are, the clearer the water tends to be. By staying closer to the surface, you can take advantage of the available light and reduce the impact of particles suspended in the water.
Tip 4: Adjust Your Camera Settings
To compensate for the low visibility and lack of natural light, you’ll need to make some adjustments to your camera settings. Increase your ISO to allow for faster shutter speeds and decrease the aperture to maximize the depth of field. Experiment with different settings to find the right balance between exposure and clarity.
Tip 5: Post-Processing Magic
Even with the best equipment and techniques, shooting in murky conditions can still result in less than perfect images. That’s where post-processing comes in. Editing software such as Adobe Lightroom or Photoshop can work wonders in enhancing the colors, contrast, and sharpness of your underwater photos. Don’t be afraid to experiment with different adjustments and filters to bring out the best in your shots.
Conclusion: Embrace the Challenge
Shooting underwater in murky conditions may present its fair share of challenges, but with the right mindset and techniques, you can still capture incredible images. Remember to bring your own lighting, get close to your subject, choose the right depth, adjust your camera settings, and make use of post-processing tools. Embrace the challenge and let your creativity thrive as you explore the murky depths with your camera in hand.